Lighting and exposure of street photography
Lighting and exposure are at the heart of street photography. They can turn an ordinary scene into a photograph with mood, texture and feeling. On the street, light changes quickly, so learning to notice it—and to expose deliberately—helps you respond when a moment appears.
What Light and Exposure Mean in Street Photography
Lighting is the direction, intensity and quality of the light in a scene. Street photographers mostly work with what is already there, which means making quick decisions about changing sun, shade, windows, streetlights and reflections.
Exposure is the amount of light that reaches your camera sensor or film. Aperture, shutter speed and ISO work together to control it. The goal is not always a perfectly even exposure; sometimes preserving a bright highlight, a deep shadow or a silhouette is what gives the picture its feeling.
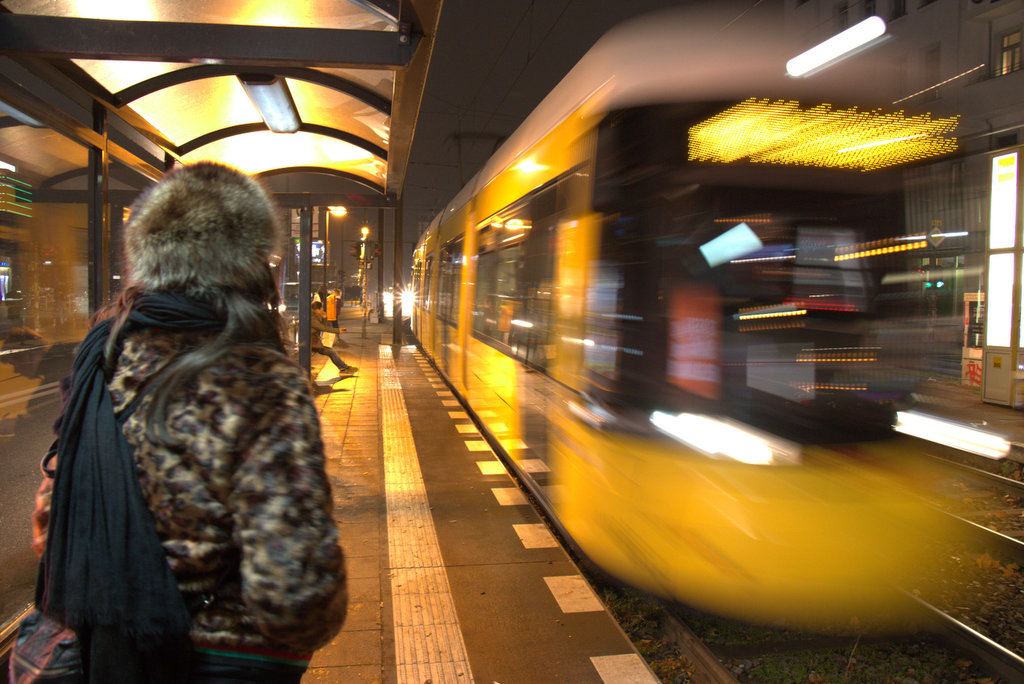
A Personal Note on Chasing Light
In my years of traversing the globe with a camera in hand, I have come to understand that light is far more than a technical element—it is the language of photography. I recall a moment in a Peruvian village, where the late-afternoon sun pierced through a pile of bamboo sticks and illuminated the faces of children playing below. It was fleeting, ephemeral and profound. Moments like these are why photographers chase the light. Treat it as your most precious collaborator: it can guide you to stories that are already waiting to be told.
Using Light to Tell a Story
Light is not just a tool; it is part of the story. Its direction, quality and intensity can change the mood of the same street completely. Unlike a studio, the street asks for adaptability: you work with fleeting sun, hard midday contrast, overcast skies, shop windows and artificial light after dark.
How to See Better Light on the Street
- Observe before you capture. Notice where light falls, how it meets a face or a wall, how it changes texture, and how it moves through the day. Early morning and late afternoon often bring softer, warmer light. Midday can be harsh, but it can also make bold graphic shadows.
- Use shadows as part of the composition. Shadows can create mystery, depth and rhythm. Look for patterns, negative space and lines that guide the eye through a frame. Deliberate street photography composition and framing helps light feel intentional rather than accidental.
- Try backlight for drama. With the light behind a subject, you can make silhouettes, rim light or a strong sense of movement. Decide whether the shape, the atmosphere or the face matters most before you expose.
- Look for reflections and artificial light. Puddles, mirrors and windows can bring unexpected light into a frame. Streetlights, neon signs or even the glow of a phone can create a cinematic atmosphere. I remember a rainy evening in Tokyo when neon reflections on wet streets created an otherworldly palette of colour.
Mastering Exposure for Street Photography
Exposure is how you balance the available light with the picture you want to make. Street photographers often move between dark alleyways and bright plazas within a few steps. Knowing your camera well lets you choose quickly whether to protect highlights, keep a face visible, freeze motion or allow blur.
Practical Exposure Techniques for Street Photographers
- Shoot RAW when it suits your workflow. RAW files give you more room to refine bright and dark areas later. They are especially useful in contrasty scenes, but they do not replace making a considered exposure in the moment. My street photography editing and color grading workflow explains how I approach that later stage.
- Use exposure compensation. A camera meter can be fooled by a backlit person, a very bright wall or a deep shadow. Exposure compensation is a fast way to protect the part of the scene that matters most while keeping the atmosphere intact.
- Know what each setting changes. Aperture affects depth of field, shutter speed affects movement and ISO affects sensitivity to light. You do not have to use manual mode all the time; the important thing is understanding what your chosen mode is deciding for you.
- Meter for the important area. In a complicated scene, take a reading from the highlight, face or patch of light that carries the image. Spot metering can help, but the real habit is being clear about what you want the viewer to see first.
Practical Lighting and Exposure Habits
- Look for contrast. A shaft of light cutting through a shadowy street can direct the eye immediately. Place a person or a gesture into that contrast when the timing is right.
- Work with low light rather than against it. At night, a higher ISO, wider aperture or slower shutter speed can be a creative choice. Decide whether you want sharpness, motion or atmosphere; it is often impossible to maximise all three.
- Build a personal visual language. Some photographers are drawn to high-contrast black and white; others prefer softer, quieter colour. Experiment until the way you use light feels connected to what you want to say.
- Practice the same place in different conditions. Return to one corner, station or square in morning, rain, overcast weather and at night. Repetition teaches you how light changes more reliably than any technical rule.
Study photographers whose use of light stays with you, but keep walking and testing ideas yourself. The streets are an ever-changing studio. The more familiar your camera becomes, the more attention you can give to the story unfolding in front of you.
Street Photography Lighting Questions
What is the best light for street photography?
There is no single best light. Soft light can be gentle and descriptive, while hard sun can make strong shapes and shadows. The useful question is which kind of light supports the photograph you want to make.
How should I expose a high-contrast street scene?
Choose the priority before the moment arrives. If the highlight is the subject, protect it and allow the shadows to fall dark. If a face is the subject, expose for the face and accept that bright areas may become lighter. Exposure compensation and RAW files can give you extra flexibility, but the decision begins with the story.
Should I use manual mode for street photography?
Manual mode can be useful when the light is stable and you want consistent results. Aperture priority, shutter priority or auto ISO can be just as effective when the light changes quickly. Use the approach that lets you stay present and react to the scene.
By learning the dance of light and exposure, you are not simply making a correct file—you are making a photograph that carries the rhythm and soul of the street. Each frame is another chance to observe, adapt and let the light guide you.
Written by Ishay Lindenberg, a Berlin-based photographer.
I share the photographs that do not fit into an article—and the ones that are still asking a question. If you are in Berlin and want to talk photography, prints or workshops, you can get in touch.